Today I have another no-fuss recipe that is super easy to make and ready in 20-25 minutes. Best for those rushing for the office or busy with some campfire adventures. Think of those crackling flames, the enticing aroma, and the oh-so-delicious taste of a grilled cheese sandwich. Now’s the time to take it to the next level and turn up the heat on your outdoor dining experience.
In this article, I will show you step-by-step how to make the perfect combination of toasted bread with melted cheese. We’ll also give you some tips and serving suggestions to help you take your camping cooking game to the next level. Say goodbye to boring campfire meals and say hello to a culinary experience that will leave a lasting impression!
Related: Various Grilled Cheese Sandwich Recipes
Why the Campfire Grilled Cheese Sandwich is an Outdoor Culinary Delight
Imagine being in the middle of nature, the crackling of fire, and a beautiful smell in the air. You can’t wait for the first bite of your favorite grilled cheese sandwich! This simple yet delicious dish is perfect for any outdoor adventure. The only thing that sets it apart from the stovetop version is the unique flavor it brings. The fire adds a smoky flavor to the bread, and the cheese is so rich and gooey that you won’t be able to get enough. It’s the perfect comfort food that will leave you feeling warm and satisfied with every bite.
If you’re looking for a delicious meal to share around the campfire, the grilled cheese sandwich is the way to go! It’s a great way to bond with your friends and family and you can watch the cheese melt before your eyes. Also, you can customize it to your own taste – add bacon or tomatoes, or try different types of cheese. You can make a classic grilled cheese or go for something a little more fancy with gourmet ingredients. So why settle for a regular campfire meal when you can try a delicious grilled cheese sandwich?
Related: Tips to Preparing Meals for Outdoor Activities
A Step-By-Step Guide to Creating the Perfect Campfire Grilled Cheese Sandwich
The grilled cheese sandwich is so versatile, you can make it any way you want. You can add bacon or tomatoes, or try different types of cheese. You can make a classic grilled cheese or go for something a little more fancy with gourmet ingredients. So why settle for regular campfire meals when you can make something so delicious? Here I show you how to make the perfect grilled cheese sandwich. Get ready to take your campfire cooking to the next level and enjoy a delicious sensory experience.
- To make the perfect campfire grilled cheese sandwich, choose a bread that pairs well with the other ingredients and try a few different cheeses.
- Set up a campfire, add a cast-iron cast-iron pan or grill grate to the fire, and prepare the cooking surface.
- Put the sandwiches together, top with cheese, and place in the preheated pan.
- Cook until golden brown on the outside and cheese melts on the inside.
- Remove sandwiches from pan and let cool.
- Enjoy toasted bread with melted cheese for the perfect combination of flavors.
Related: Delicious High Tea Recipes
Variations: Experiment With Your Campfire Grilled Cheese Sandwich
To make your grilled cheese sandwich stand out from the others, try a variety of breads and artisan cheeses. You can also add gourmet ingredients like prosciutto cheese, roasted red peppers, or caramelized onions to your grilled cheese sandwich. You can also add a variety of spreads and toppings such as fig jam, pesto, red pepper flakes, smoked paprika, etc. Herbs and greens can also be added to your grilled cheese sandwiches to add some freshness and color to your sandwich. You can add basil leaves, arugula, coriander, etc.
Related: Vegan Camping Food Ideas
Tips for Making the Most of Your Campfire Cooking Experience
To make campfire cooking as safe as possible, choose a good spot, keep a safe distance from flammable materials, and make sure the fire is completely extinguished. Gather all your supplies and tools before the cooking process begins to keep things organized and running smoothly. Plan meals in advance with easy-to-prepare ingredients and make sure you have a menu that offers variety and balance. Make sure you have all the necessary ingredients on hand so you don’t run out. Be aware of cooking times for different ingredients so you can cook outside in a variety of ways. Don’t be afraid to try new things, experiment with different flavors.
Related: Quinoa Salad with Chickpea and Feta
Serving Suggestions: Pairing Your Campfire Grilled Cheese with Delicious Side Dishes
There’s nothing better than a good side dish to go with your main course. And when it comes to grilled cheese sandwiches made around the campfire, there’s no better way to go about it. Whether you’re looking to enhance your flavor profile, add some freshness to your meals, or make your outdoor gathering a little more special, here are some side dish ideas that will enhance your campfire cooking experience.
1. Classic Tomato Soup: A grilled cheese sandwich and a bowl of creamy tomato soup are a culinary match made in heaven. All you have to do is make your favorite creamy tomato soup in advance, heat it on the grill, and dip it in your melted cheese.
2. Grilled Vegetables: Grill up some fresh veggies to go along with your grilled cheese. You can use bell peppers, zucchini, mushrooms, or onions. Sprinkle them with olive oil and season with your favorite seasoning. Grill until golden brown on both sides. The crispy edges and irresistible flavor will go great with your grilled cheese sandwich.
3. Crispy Bacon: To take your grilled cheese sandwich to the next level, add some crispy, smoked bacon. Heat some cast iron in a pan over the fire until it’s nice and crispy. Sprinkle it on top of cheese or on bread to take your sandwich to a whole new level.
4. Fresh Salad: A salad is a great accompaniment to a grilled cheese sandwich at the campfire. A simple garden salad is a great way to pair a grilled cheese with a refreshing salad. This salad is a mix of mixed greens and cherry tomatoes. The cherry tomatoes add a tangy flavor to the salad, while the mix of greens and cherry tomatoes gives it a crisp and vibrant flavor. If you’re looking for something a little more adventurous, a Mediterranean-style salad is a great option. This salad is loaded with olives, feta cheese, and cucumbers, making it a great addition to any grilled cheese sandwich.
5. Sweet Potato Fries: For something sweet and crunchy, try sweet potato fries. Cut the potatoes into bite-sized pieces, toss in some olive oil and your favorite seasonings, and grill until golden brown and caramelized. The combination of crunchy grilled cheese with sweet potato fries is an unbeatable combo that will leave you wanting more.
Simple Grilled Cheese Sandwich: A Sizzling Outdoor Delight

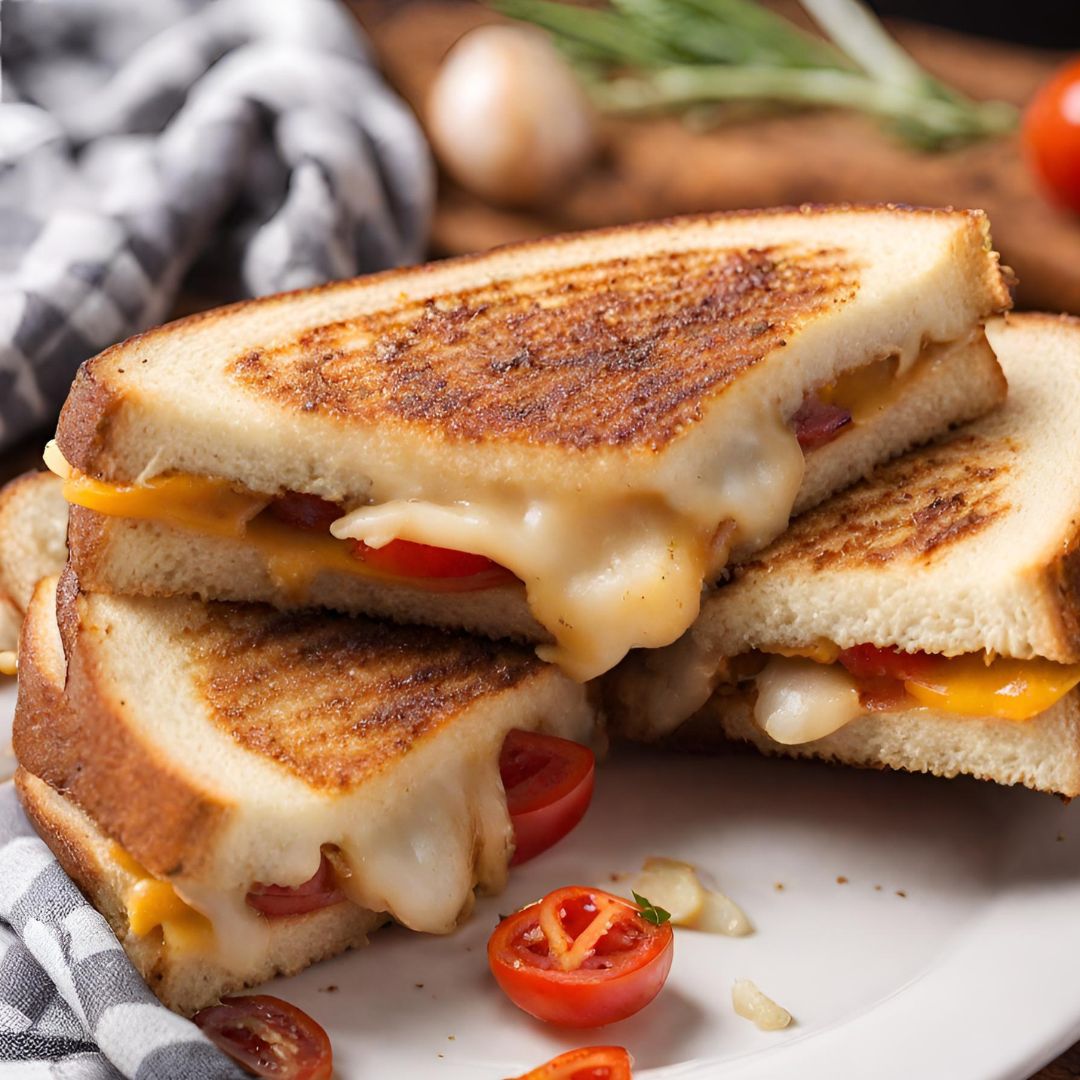
Campfires, the stars, the outdoors - nothing makes us happier than cooking over a campfire. Of course, you've probably already tried marshmallows or hot dogs, but here's a treat we want to share with you! Campfire Grilled Cheese Sandwiches are the perfect combination of comfort food and rustic camping. Here's how to make the ultimate grilled cheese sandwich.
Ingredients
- 8 slices of bread
- 2 cups shredded cheddar cheese
- 2 cups shredded mozzarella cheese
- 1/2 cup butter, softened
- 1 tablespoon Garlic (minced)
- 2 Large Onion (Finely Chopped)
- 1 Large Tomato (Sliced)
- 1 Cucumber (Sliced)
Instructions
Start by setting up a grill in the kitchen or by the campfire. Let it burn until there is a nice bed of hot coals.
Spread softened butter on one side of each slice of bread.
Place a slice of bread, buttered side down, on a piece of aluminum foil.
Add a handful of cheddar and mozzarella cheese on top.
Now spread the crushed garlic and onion on top. Try to spread evenly, but each part of the sandwich can be enjoyed with equal flavor.
Now arrange sliced tomato and cucumber on it.
Now spread a little more cheese on top.
Top with another slice of bread, buttered side up.
Carefully wrap each sandwich in a piece of aluminum foil, creating a sealed packet. Make sure it's sealed well to prevent ash from getting inside. (This step is for extra security in outdoor cooking)
Place the foil-wrapped sandwiches on the grate over the hot coals.
Cook for about 5-7 minutes on each side, or until the bread is crispy and the cheese is melted to perfection. Use tongs and hot mitts to handle the packets.
Unwrap your campfire grilled cheese sandwiches, and savor the gooey, smoky goodness. Be cautious, they'll be hot!
Notes
- Experiment with different cheese varieties for unique flavors.
- Add ingredients like sliced mushrooms, chicken, and potato for extra layers of taste.
- For a sweet twist, sprinkle a pinch of cinnamon and sugar between the cheese layers.
Nutrition Information:
Yield:
4Serving Size:
1Amount Per Serving: Calories: 775Total Fat: 53gSaturated Fat: 31gTrans Fat: 2gUnsaturated Fat: 17gCholesterol: 145mgSodium: 1155mgCarbohydrates: 47gFiber: 3gSugar: 10gProtein: 31g
Related: Foil Packet Potatoes
FAQ
What kind of bread can I use for grilled cheese sandwiches?
One of the great things about grilled cheese sandwiches is their versatility. You can use any type of bread you like, whether it’s classic white bread, whole wheat, sourdough, or even a baguette. Just make sure the bread you choose is sturdy enough to hold the cheese and other ingredients without separating.
What kind of cheese works best for a campfire grilled cheese sandwich?
Again, the choice is yours! Feel free to experiment with different cheeses to find your perfect combination. Cheddar, mozzarella, Swiss, and provolone are popular choices that melt well and add a delicious creaminess to your sandwich. Or, if you’re feeling adventurous, try mixing different cheeses together for a unique taste experience.
Can I make grilled cheese sandwiches ahead of time and reheat over the campfire?
While it’s best to enjoy your grilled cheese sandwich fresh from the campfire, you can definitely prepare it ahead of time and reheat it later. Just be aware that the bread may lose some of its crispiness when reheated, so it won’t be the same as a freshly grilled sandwich. To reheat, wrap the sandwich in aluminum foil and heat over a campfire until the cheese melts and the bread is warm.
How do I prevent cheese from sticking to the cooking surface?
A trick to keep the cheese from sticking is to lightly oil the cooking surface before placing the sandwich. You can use cooking spray or rub a little vegetable oil on the grill grate or skillet. This will create a non-stick surface and make it easier to flip the sandwich without the cheese sticking.
Can I add other ingredients to my grilled cheese sandwich?
Yes, Grilled cheese sandwiches are endlessly customizable, so feel free to get creative with your additions. Sliced tomatoes, crispy bacon, fresh basil leaves, caramelized onions, or even a dollop of pesto can take your sandwich to the next level. If you add ingredients that require cooking, remember to adjust the cooking time accordingly.
Campfire Grilled Cheese Sandwiches are the perfect way to turn an ordinary night into an extraordinary memory. It’s not just a recipe, but a passport to unforgettable nights and stories told around a blazing firelight. The best recipes are made from laughter, connection, and magic when good food meets good company. Cheers to life’s simple joys wrapped in sandwich warmth.

If you like this article about grilled cheese sandwich recipe, please share this with your friends on Facebook, Twitter, and Pinterest. Also, you can subscribe to my blog to get all the latest articles first on your mobile.
SHARING IS CARING!
FACEBOOK | TWITTER | PINTEREST
Did you like this recipe and make it later at home? SAVE this pin to your favorite board on Pinterest!